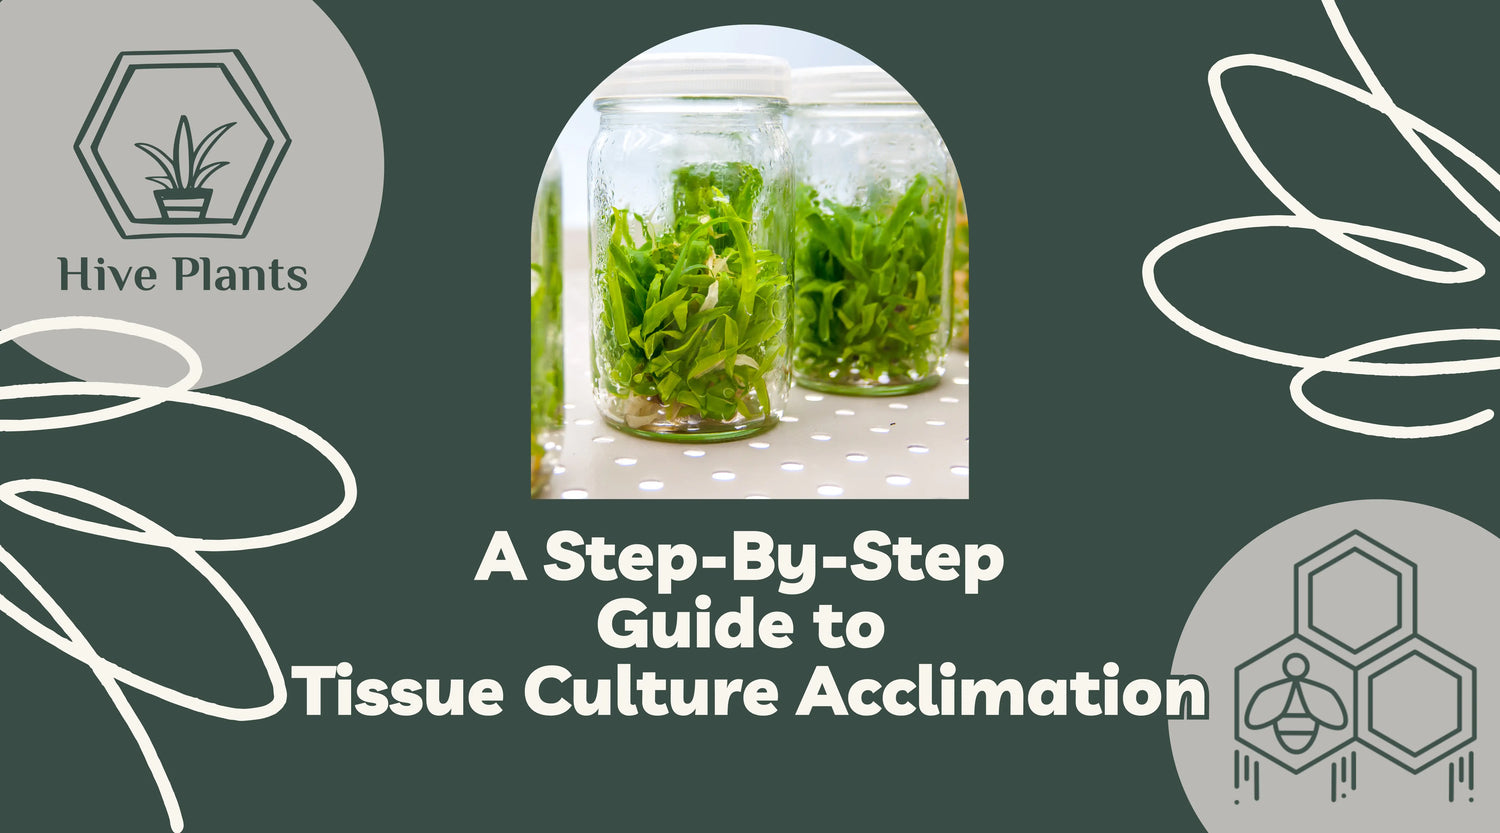
Tissue cultures are an excellent way to propagate plants, ensuring genetic consistency and disease-free growth. However, they require careful handling and acclimatization to transition successfully from the sterile lab environment to a more natural setting. Follow these steps to acclimate your tissue cultures:
1. Preparation
Before you begin, gather all necessary materials:
- Tissue culture plants in their containers
- Clean water
- Fungicide solution (We recommend Mancozeb)
- Rooting hormone (We use Clonex)
- Fluval Stratum
- Perlite
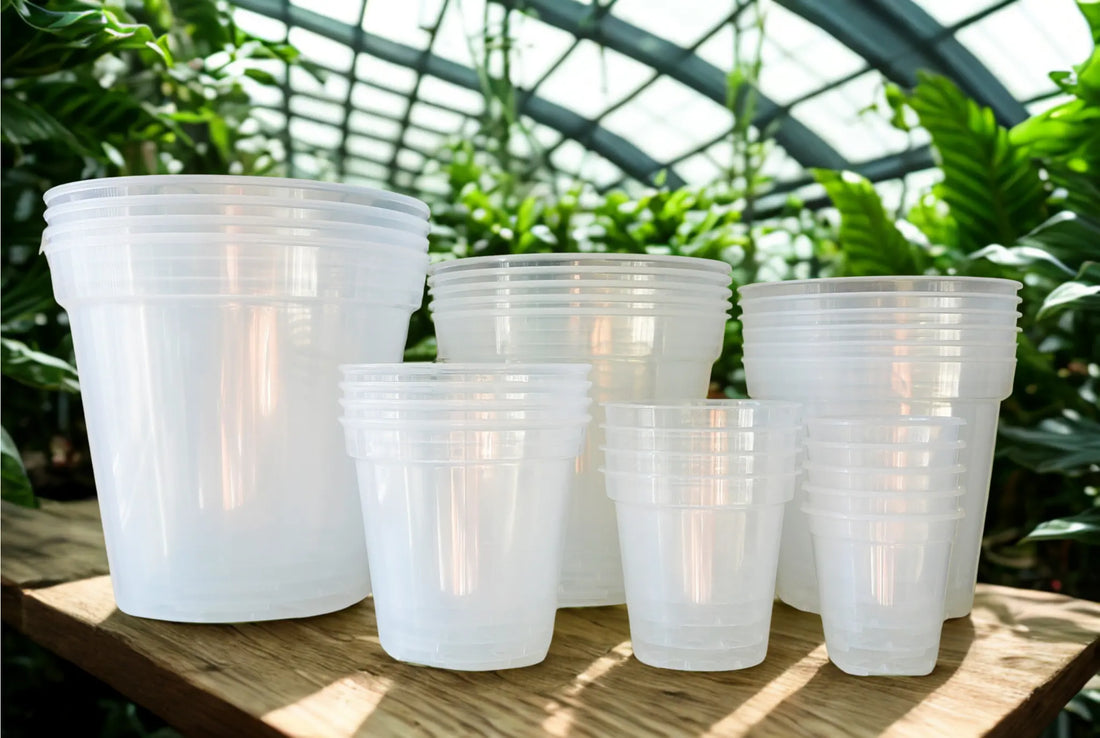
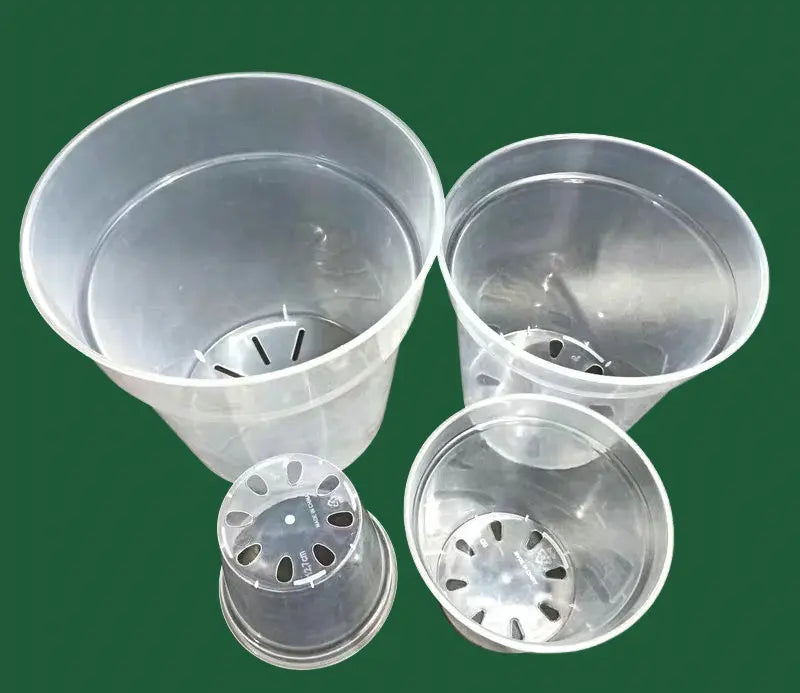
- Clean planting containers (plastic cups work great for this)
- Humidity dome
- Spray bottle
2. Removing the Tissue Cultures from the Container
- Gently Remove the Plants: Carefully open the tissue culture container. Handle the plants with care to avoid damaging the delicate roots and stems. We recommend only handling one plant at a time.
- Rinse Off the Agar: Wash off the agar medium (the jelly stuff) from the roots using lukewarm water. This medium is nutrient-rich but can harbor contaminants once exposed to the open air. You can also use a clean paint brush to assist in this step.
3. Soaking in Fungicide
- Prepare a Fungicide Solution: Follow the instructions on your chosen fungicide product to create a diluted solution.
- Soak the Plants: Submerge the rinsed tissue culture plants in the fungicide solution for about 15-20 minutes. This helps prevent fungal infections during the acclimation process.
4. Planting
- Prepare the Planting Medium: Mix Fluval Stratum with perlite (roughly a 60/40 ratio). Fluval Stratum provides a stable, nutrient-rich base, while perlite aids in aeration and moisture retention.
- Plant the Tissue Cultures: Dip the plants roots in a rooting hormone. Fill your planting containers with the prepared medium, roughly 1 inch deep. Make small holes and gently place each plant into the medium, ensuring the roots are well-covered but not compacted.
- Water the Plantlet: Water the Stratum until it is damp (it doesn't take much). You want the Stratum to be damp but not standing in water.
5. Initial Acclimation
- Create a High-Humidity Environment: Place the planted tissue cultures under a humidity dome. This step is crucial as tissue cultures need high humidity to prevent desiccation during the early stages.
-
Gradual Acclimatization to Room Humidity: Over the course of one to two weeks, gradually introduce the plants to room humidity by:
- Weeks 1-3: Keep the dome completely sealed.
- Weeks 4-6: Open the dome slightly for an hour each day, gradually increasing the time.
- Weeks 7-10: Increase the opening size or frequency, allowing more air exchange.
- Weeks 11-14: Remove the dome entirely for short periods, eventually leaving them uncovered for the whole day.
6. Ongoing Care
- Watering: Keep the medium consistently moist but not waterlogged. Use a spray bottle for gentle watering to avoid disturbing the delicate plants.
- Light: Provide bright, indirect light. Direct sunlight can be too intense and may scorch the young plants.
- Temperature: Maintain a stable, warm temperature between 70-80°F.
7. Monitoring and Adjusting
Regularly check the plants for signs of stress, such as wilting or discoloration. Adjust humidity, light, and watering practices as needed to ensure healthy growth.


